16.2. 使用Amazon SageMaker¶ Open the notebook in SageMaker Studio Lab
深度学习程序可能需要很多计算资源,这很容易超出你的本地计算机所能提供的范围。云计算服务允许你使用功能更强大的计算机更轻松地运行本书的GPU密集型代码。本节将介绍如何使用Amazon SageMaker运行本书的代码。
16.2.1. 注册
首先,我们需要在注册一个帐户https://aws.amazon.com/。 为了增加安全性,鼓励使用双因素身份验证。设置详细的计费和支出警报也是一个好主意,以避免任何意外,例如,当忘记停止运行实例时。登录AWS帐户后,转到console并搜索“Amazon SageMaker”(参见 图16.2.1),然后单击它打开SageMaker面板。
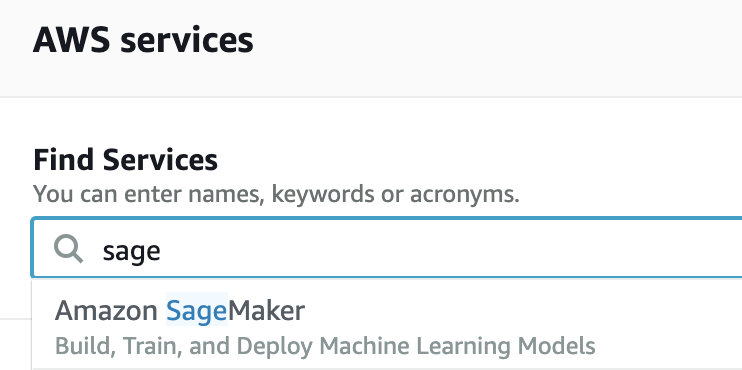
图16.2.1 搜索并打开SageMaker面板
16.2.2. 创建SageMaker实例
接下来,让我们创建一个notebook实例,如 图16.2.2所示。
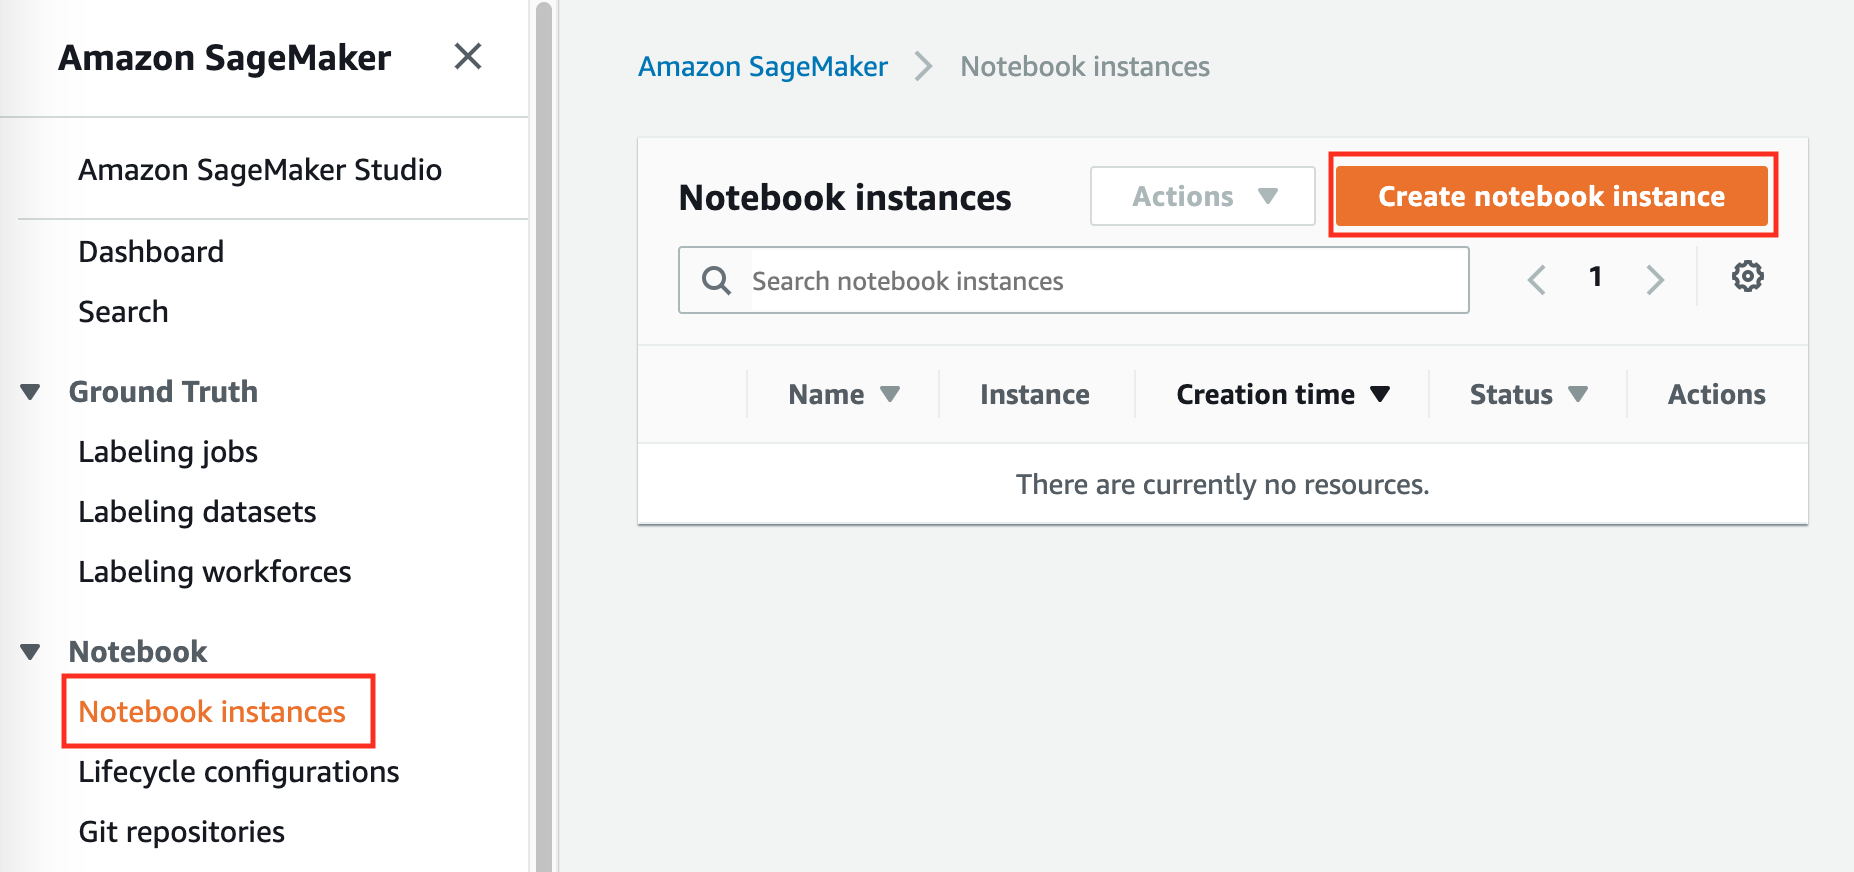
图16.2.2 创建一个SageMaker实例
SageMaker提供多个具有不同计算能力和价格的实例类型。创建notebook实例时,可以指定其名称和类型。在
图16.2.3中,我们选择ml.p3.2xlarge:使用一个Tesla
V100 GPU和一个8核CPU,这个实例的性能足够本书的大部分内容使用。
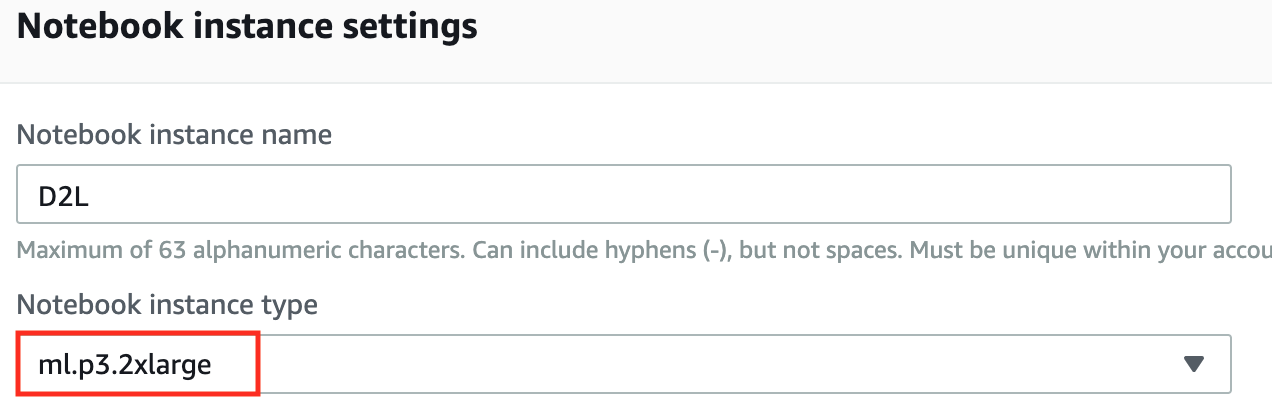
图16.2.3 选择实例类型
用于与SageMaker一起运行的ipynb格式的整本书可从https://github.com/d2l-ai/d2l-en-sagemaker获得。 我们可以指定此GitHub存储库URL( 图16.2.4),以允许SageMaker在创建实例时克隆它。
用于与SageMaker一起运行的ipynb格式的整本书可从https://github.com/d2l-ai/d2l-pytorch-sagemaker获得。 我们可以指定此GitHub存储库URL( 图16.2.4),以允许SageMaker在创建实例时克隆它。
用于与SageMaker一起运行的ipynb格式的整本书可从https://github.com/d2l-ai/d2l-tensorflow-sagemaker获得。 我们可以指定此GitHub存储库URL( 图16.2.4),以允许SageMaker在创建实例时克隆它。
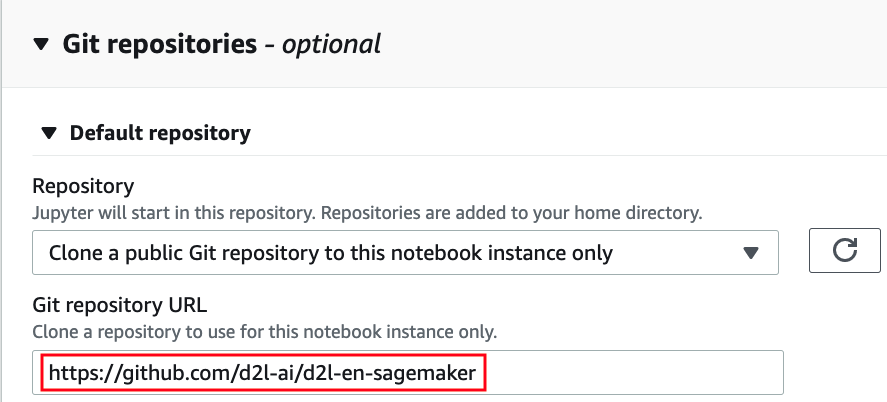
图16.2.4 指定GitHub存储库
16.2.3. 运行和停止实例
创建实例可能需要几分钟的时间。当实例准备就绪时,单击它旁边的“Open Jupyter”链接( 图16.2.5),以便你可以在此实例上编辑并运行本书的所有Jupyter Notebook(类似于 16.1节中的步骤)。

图16.2.5 在创建的SageMaker实例上打开Jupyter
完成工作后,不要忘记停止实例以避免进一步收费( 图16.2.6)。
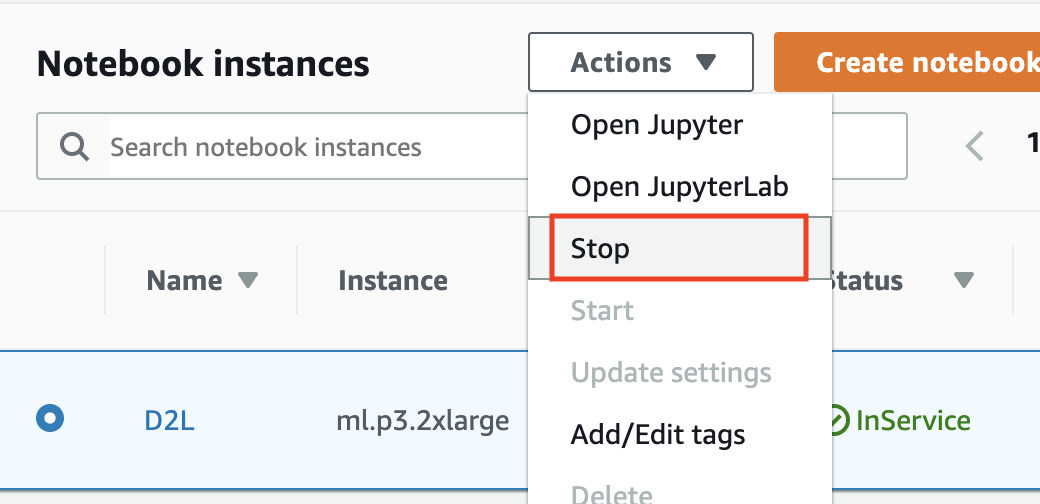
图16.2.6 停止SageMaker实例
16.2.4. 更新Notebook
这本开源书的notebook将定期在GitHub上的d2l-ai/d2l-en-sagemaker存储库中更新。要更新至最新版本,你可以在SageMaker实例( 图16.2.7)上打开终端。
这本开源书的notebook将定期在GitHub上的d2l-ai/d2l-pytorch-sagemaker存储库中更新。要更新至最新版本,你可以在SageMaker实例( 图16.2.7)上打开终端。
这本开源书的notebook将定期在GitHub上的d2l-ai/d2l-tensorflow-sagemaker存储库中更新。要更新至最新版本,你可以在SageMaker实例( 图16.2.7)上打开终端。
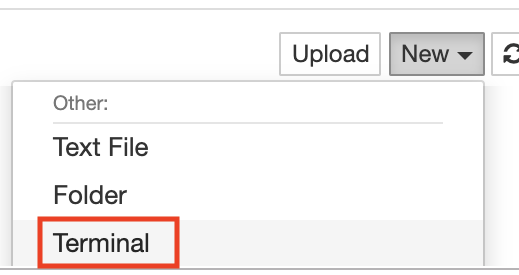
图16.2.7 在SageMaker实例上打开终端
你可能希望在从远程存储库提取更新之前提交本地更改。否则,只需在终端中使用以下命令放弃所有本地更改:
cd SageMaker/d2l-en-sagemaker/
git reset --hard
git pull
cd SageMaker/d2l-pytorch-sagemaker/
git reset --hard
git pull
cd SageMaker/d2l-tensorflow-sagemaker/
git reset --hard
git pull
16.2.5. 小结
我们可以使用Amazon SageMaker创建一个GPU的notebook实例来运行本书的密集型代码。
我们可以通过Amazon SageMaker实例上的终端更新notebooks。